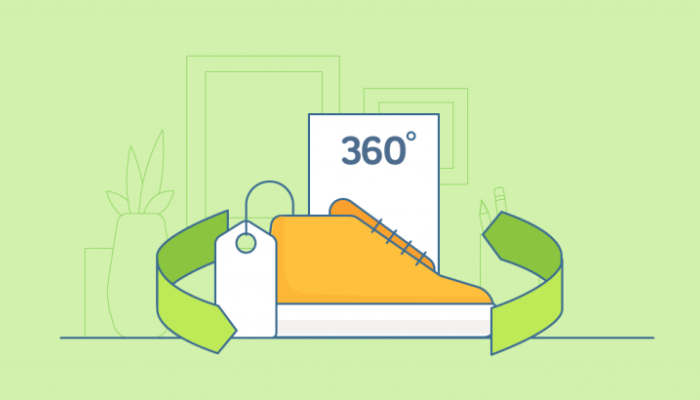
You have seen pictures on websites that you can move in any direction. Of course, these pictures get your attention. But, what are these pictures? Well, that is called 360° product photography.
Product photography is still the best asset if you want to sell products in a competitive market. Recently, 360° photos have become popular because they give a sense of trust to customers. Customers can see how the products look even if they cannot hold them physically.
Leeline Sourcing has been working in the industry for the past 10+ years. We have helped many clients take photos like this and put them on their ecommerce store page. With this, they have witnessed increased sales and more customer attraction.
Anyone can attract more customers using good 360° photography. This blog covers the details on how to do a 360° photoshoot with a professional touch.
What is 360° product photography?
A product photoshoot at a 360-degree angle is a detailed photoshoot and is also known as 360° photography. It is used to deliver the details of items from different views.
Multiple images are taken at the angle of 10 degrees and then are processed into a single image. That processed image then stimulates rotation.
360° photoshoot allows online stores like eCommerce website or Shopify to present the products from every angle. As a result, it increases the chance of getting more sales.
Types of 360° product photography
The main idea behind 360 spin photoshoots is to give info about the product. Whenever I try to shop online, this detailed information imagery attracts most. For the past 30 years, 360 photoshoots have evolved. Now, it comes in many variants. Here are the types of 360° photography that you can incorporate into your business.
1. Non-Interactive 360° photos
- Comes in GIF format
- Cannot Pinch Zoom or expand
2. Interactive 360° photos
- Allows you to drag or move the picture
- Users can also zoom in/out
3. Multi-row 3D photography
- Viewers can rotate it in any direction
- Users can view it in spherical rotation
4. Double Axis Spin photo
- Combination of two different 360° photoshoots (One Vertical and One horizontal)
5. Product Animation
- Combination of animations and 360° photography
- Cannot interact or move
6. Virtual Tour
- Made with 360° pictures and videos
- Users can interact and play with pictures
Benefits of using 360° photography
360 spin photo is a perfect way to grab customers’ attention. This same thing happens to me whenever I browse an online store. Here is what this type of photography has to offer.
- Increased sales: People think online shopping is risky because they cannot physically hold the product. But, with 360° photography, they can see how the product will look. Hence, that leads to more sales. My store experienced a sudden conversion increase with them.
- Increased Google Ranking: 360° photography is perfect if you want to be on top of Google search. Since Google requires high-quality images, 360° photoshoot is good for website ranking.
- Increased trust: 360° photography shows that you are delivering a product that you are promising. It increases the customer’s trust, and they buy from you repeatedly.
Looking for the Best China Sourcing Agent?
Leeline Sourcing helps you find factories, get competitive prices, follow up production, ensure quality and deliver products to the door.
How to shoot 360° product photography?
So, the question is, how can you snap these photos. Do you need the help of a professional product photography studio? Honestly, taking 360° pictures is surprisingly simple. That is because of the easy-to-use product photography equipment. There is no need for professional photographers if you know the shooting process.
With all these steps, you will be able to create a 360° image for your web page.
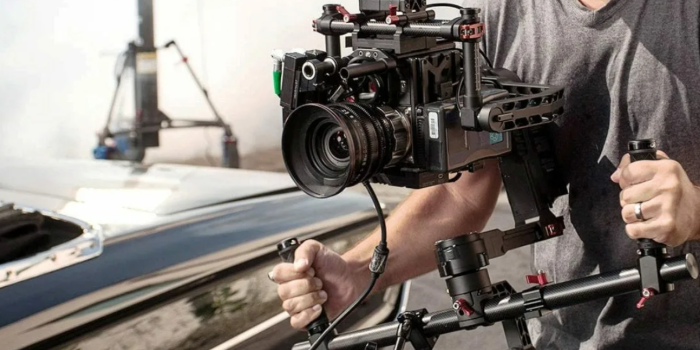
Step 1: Prepare equipment
It is vital to get your hands on the 360° photography equipment for starters. For instance, you will need a zoom lens, mirrorless camera, strobe lights, shutter release cable, and a lightbox. As for shooting the pictures, consider buying a table for product positioning. Furthermore, buy the software required for editing the photos so that you can give them a professional look. I avoid all of these hassles by asking my sourcing agent if they provide these services or not.
Step 2: Set up your background and light
Lighting equipment is essential whenever you are doing product photoshoot. Use a good lighting source such as natural light to highlight the product’s features. Moreover, you also need to set up white space for your photography. Use a backdrop to make the background white. My photographer sometimes uses a Greenscreen background to add further effects.
Step 3: Set Your Turntable
One important tool used in 360° photoshoots is a rotating turntable. A Photography turntable is used to snap the pictures at every degree interval. Place the item on the turntable and take a test shot to see the result.
Step 4: Check Your Camera Settings
After the above step, check the camera output options. For example, Rotating pictures require a lower shutter speed. Select the option from the camera’s advanced options. Moreover, you will also need to adjust the focal length. Finally, if you want to show product details, you can also select the deep zoom from the camera options.
Step 5: Start Taking Photos
After following every step above, start taking test shots of the product. Remember to use the manual mode to take the still images. A remote shutter release button will help take pictures as the camera moves along the table.
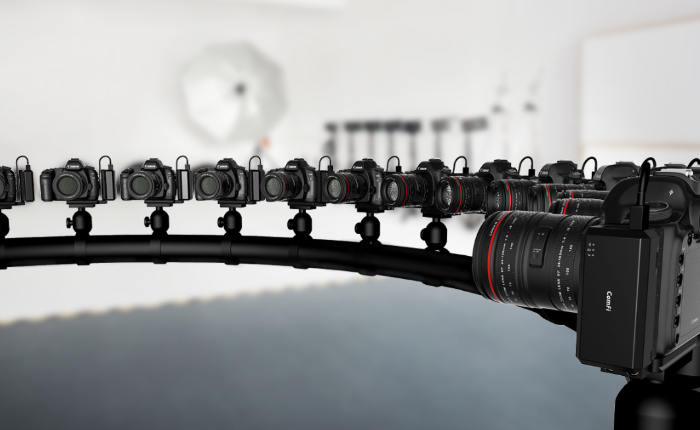
Snap the pictures of rotating images at 10-degree intervals. You can also go for multiple cameras if you want a more precise result of the rotating object.
The idea behind taking 360° shots is to take multiple photos. In simple words, more frames will give a fantastic result when you combine them with software programs.
Step 6: Post-processing
After you take the pictures, it is time to edit them. Again, use different software for batch editing. Adjust image composition, contrast, and white balance to highlight features of the product. After editing these pictures, save images in JPG or PNG format. These individual images are then used for creating 360° photos. In my experiences these formats keep your photos in better quality.
3D vs. 360° product photography
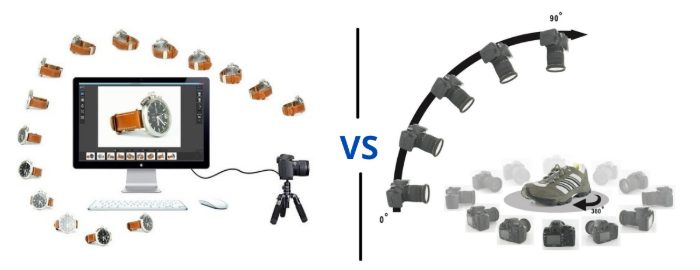
Some people confuse 3D and 360° photography. They think that these both are the same. I also got confused at first when I heard about these two terms. However, there are huge differences between the two. Let’s talk about the main differences between the two types.
3D images have more shots. In 3D images, you have to capture the images in all planes. Naturally, this increases the image count. Whereas in 360, a single (X or Y) plane is used for creating the product image.
3D images contain product animations that you can interact with in any direction. That is not possible with 360° image format. You can only move it in one direction.
Another important difference between the two is that 360° photos load fast compared to the lazy loading of 3D images. I check my store loading speed and decide which photos work best for my store’ experience.
Suggested reading: Amazon Product Photography for Your Website
FAQs about 360° Product Photography
How much does 360° product photography cost?
A 360° photoshoot can cost around $35-$45 for a single product. However, there is an option to hire a photographer at $500/hour if you have multiple items.
How do I create perfect 360° product images?
If you plan to shoot images at home and want to save money, you will need these things to create perfect product shot.
● Proper Equipment
● Lightning source
● Product turntable
● Good Editing skills and software
How do I upload 360-degree photos to Amazon?
Amazon released a dedicated feature for uploading 360° product images. It gives full control to the Amazon seller. Whenever you create a listing, there will be an option to upload animations. Select that animation, and you will be able to upload 360° pictures of your product.
What is 360° Product Photography Software?
A 360° photo software is what combines still photography shoots in 360° animations. First, a series of images get added to the software, and then they are processed in the form of 360 prints.
What’s Next
360° photography is a perfect option for sellers trying to get more sales. That is because it allows sellers to present product features at a greater scale. It helps get customers’ trust, and with that, they come back again for shopping. Remember that you have to learn a lot to incorporate 360° product shots into your online platforms.
If you still need any help regarding 360° photoshoots, product sourcing, or sales, visit our service pages for more information.