Are you looking forward to tips and exact steps to nail clothing photography for your eCommerce store? Then, this is the article you need to get your store’s clothing photoshoot right.
It’s no secret how important a place product photography has in the online world. Online buyers are smart these days. They don’t buy their apparel based on the product description based on a few words. The saying becomes true that a picture is worth a thousand words.
Clothing photography has become crucial to give the buyer a visual idea of what the products will look like in real-time.
Based on our sourcing experience and having sourced products for numerous eCommerce online stores, we can help you click great pictures for your eCommerce online store.
This article will walk you through steps to click brag-worthy clothing photos for your eCommerce online store and give you some extra tips. Let’s go!
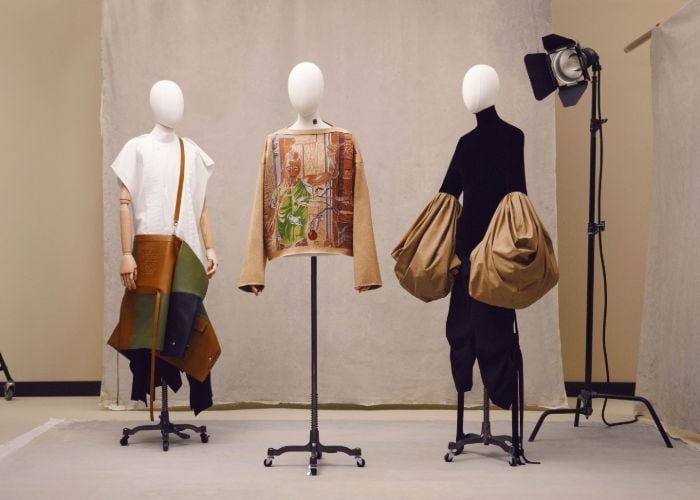
Why is Clothing Photography Important?
Clothing photography is important. Because your potential buyers want to get the feel of the photographs, they require more than just product descriptions.
You cannot overlook the fact that it’s the images that define whether your potential buyers will buy the clothes or not. Moreover, high-resolution images are a significant parameter to enhancing your website’s “time on page.”
“The more accurate your clothing imagery, the lesser your page’s return rate will be.”
According to the Intent Lab, 85%+ of the respondents, while shopping for clothing, value visuals as more important than texts, 36% use visual search, and 59% find visual information more helpful than contextual information.
So, we can comprehend that top-notch clothing photography is a must if you want your prospects to hang out for longer on your product pages and enjoy a seamless online shopping experience.
Equipment Required to Photograph Clothing
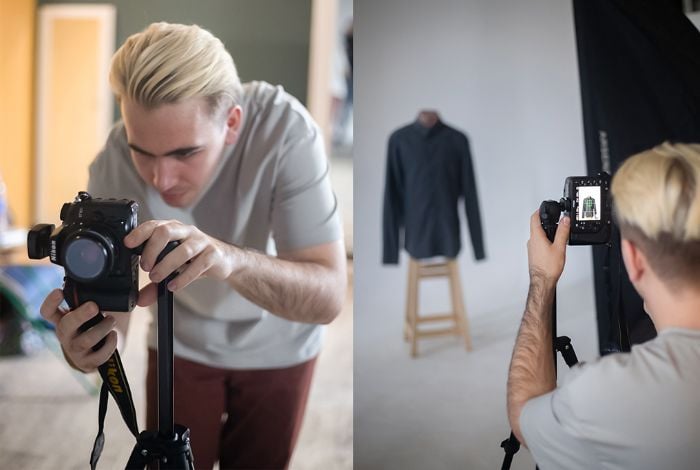
You’d need professional equipment to photograph clothes like a pro. Your budget is the main deciding factor that helps you choose the appropriate equipment for your photo session.
Here’s everything you need in the photography toolbox to photograph clothing for your online store. We had these essential tools when our company was just starting out. So don’t hesitate to invest in these for a good-quality picture.
- Camera/Shooting Device (You don’t necessarily need a high-end DSLR. A Smartphone can also do the trick.)
- Light Sources
- Backdrop
- Tripod
- Clamp/Tape
- Foam Boards
- Mannequin/Model
Pro Tip: Initially, you can keep your clothing product photography studio simple. And later on, you can upgrade and add additional elements to the equipment of your photo studio.
Looking for the Best China Sourcing Agent?
Leeline Sourcing helps you find factories, get competitive prices, follow up production, ensure quality and deliver products to the door.
How to Shoot Clothing Photography?
Once you have arranged all the much-needed gear to photograph your clothing line, the main part is photographing the clothes!
My team has compiled a step-by-step guide to ensure you get the best photos for your eCommerce store.
Step1: Plan
Planning is the crucial starting point to carrying out a successful shoot of your clothing samples. While planning, you need to take into account a few factors. Say, whether you’ll use a model or a mannequin. You need to compare and contrast the benefits and the downsides of working with both. Plus, you should consider your budget while making a final decision.
Next, you have got to decide on a theme. All your photographs should communicate the same theme throughout.
You should plan your photoshoot while keeping one thing in mind in the planning phase. Your potential buyers can’t try your products, and they might feel stuck between whether the clothes would look good on them or not.
The purpose of your photoshoot has to help them make a decision.
Step 2: Set up Equipment
Next, you have to prepare your equipment to get started with photography. The order for the preparation of your equipment has to be as follows:
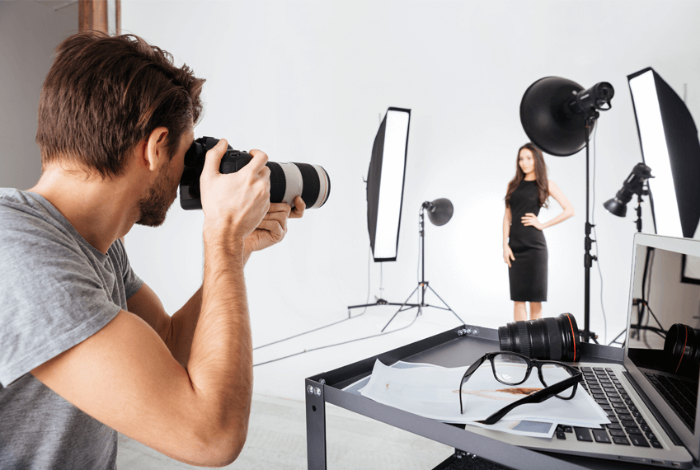
Prepare your backdrop first. Next, set your lighting and camera towards the dummy (if you’re working with a mannequin). A three-point lighting setup works the best for clothing photography instead of a single light setup.
You’d place one key light next to your camera; the fill light should be at a 45o angle from your mannequin and away from your primary light. The back or hair light should be positioned between the backdrop and the mannequin.
Step 3: Choose the Right Light/ Lighting Kit
Choosing the right light or lightening kit is important to access consistent lighting, especially, if you don’t have access to enough light or natural light and still want to nail the cloth photography. You must go with a kit that includes three lights – only then you’ll be able to organize a lighting setup with three points.
Using a Smartphone for photographing the apparel? Investing in a continuous lightning kit will help you the best in this regard.
Step 4: Clean and Iron the Clothes
Photographs are taken at their best if the clothes are clean, wrinkle, and crease-free.
Also, a little more effort in preparing the clothes for the photoshoot will save you lots of time while editing. Even better, every single detail regarding the clothing will be in place.
Here’s a quick checklist that you can use to prepare your clothes for photography:
- Ensure that your clothes are stain-free before taking pictures.
- Iron your clothes and hang them.
- Check if the buttons of the shirts are in place and are all buttoned up.
- Style the tassels or ties neatly.
- Fold the sleeves of your t-shirts neatly and consistently.
Step 5: Camera Settings
A professional photographer must look for the camera’s settings before starting the photoshoot. While setting up your camera, you need to check three things: aperture, ISO settings, and shutter speed.
Aperture: Need a more focused photoshoot? It would be best to photograph at high f/stop – typically, between f/8 and f/11 to obtain a complete focus.
ISO Setting: The just-right ISO setting for shooting clothes is 400 – 800. However, if you use artificial lighting equipment, go for the 600 – 800 range instead.
Shutter Speed: Your shutter’s ideal length should remain open while shooting clothing images is 1/125.
Step 6: Take the Apparel Photos
Once you have prepared your clothes for the photoshoot and have set up all the pieces of equipment, you are all good to take photographs.
Want to take crisp and as much sharpness as required in the images? Here’s what you should do:
- Make sure to use a tripod or steady surface for placing the camera.
- Enable the timer mode of 2-seconds on your camera. It helps your camera refocus on the subject after pressing the shutter.
- Avoid using the digital zoom feature. It might compromise the image quality. And photograph correctly.
Step 7: Post-Processing
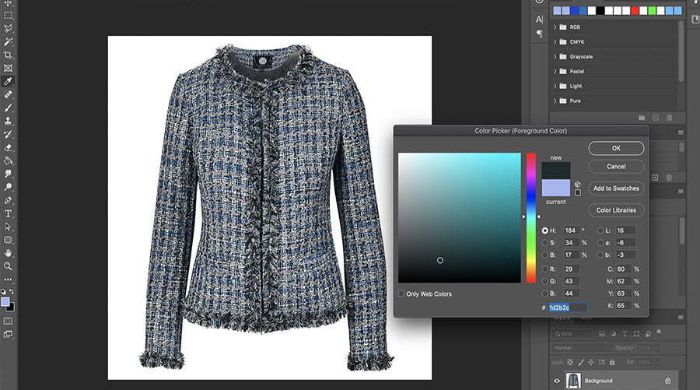
Though you have done the major chunk of photographing, there’s still one crucial step left. Post-processing or editing your images to improve the quality of your images, make the photography consistent, and take care of the picture’s alignment. You need to master advanced editing techniques, set the white balance, and crop product images identically.
A few things that you should keep in mind in the photo-editing phase are:
- Accurate colors in photographs or color correction.
- Website’s image specifications (the pictures must be the same size).
- Color cast (white balance specifically).
5 Tips to Improve Your Clothing Photography Shoot
For a more edgy and attractive clothing photography shoot, consider these tips below. These are all from our firsthand experiences, guaranteeing you a better result.
- Iron your articles to eliminate any wrinkles or creases on the clothes. If necessary, use a steamer to remove wrinkles.
- Use a padded bra to fill up the bust area of the mannequin.
- Tape the tags or labels on the articles to keep them out of sight while photographing.
- Use pins and pegs to keep the clothes in place.
- You can use the fan’s wind to bring movement to the clothing.
Looking for the Best Chinese Products?
Leelinesourcing helps you find the Best Products Made in China with high quality at an attractive cost.
FAQs about Clothing Photography
How much should I charge for photographing clothing?
The average range of product photography charges is $20-$50 per product.
What is flat lay photography?
Flat lay photography is a style of product photography in which a product is laid on a surface and photographed from above.
What is clothing photography called?
Clothing photography is also called Fashion Photography.
Conclusion:
This is it – Photographing clothes for your e-Commerce store is tricky but fun. You’d enjoy the whole photoshoot if you walked through all the steps, followed the guidelines and took care of all the details. As long as you stick to all the steps and don’t skimp on the post-processing of your images, we’re confident you’ll hit the upload button with confidence to add the photographs to your eCommerce store.
Need more information on making your clothing photography crisp? Get in touch with us.


